In previous posts, I constructed the wooden frame for my upcoming astronomical observatory and walls and roll-off roof.
In this post, I will show how I have built a solid pier to hold my upcoming EQ6 mount. I used DIY materials and a Lacerta pier adapter.
Materials
- 2x angle brackets to be fixed in the concrete floor and to the pier through a horizontal threaded bar (see below)
- 1x 1m threaded bar cut into three parts
- 2x 0.35cm for insertion in the concrete floor to stabilize and fix the cemented pier
- 1x 0.3cm to be inserted horizontally through the pier and attached to the 2 angle brackets
- 2x heavy-duty dowels for concrete to hold the angle brackets
- 2x nuts for fixing the horizontal threaded bar to the angle brackets
- 2x 1m sewage pipes (200cm in diameter). The pipe diameter has been chosen to fit the Lacerta mount adapter for EQ5/EQ6/EQ8 which has the same diameter
- 20kg of cement and 60kg of sand and gravel mixture. The quantity is approximate and is enough to fill 1.5m of 200cm wide sewage pipes
Fixing the pipes to the concrete floor
The first step in setting up the permanent position of the upcoming pier is to identify the center of your dome (since mine is a square it lies at the intersection of the diagonals).
Next, we need to make sure that the pier will stay in place and be securely fixed to the concrete floor. Since I opted to have my pier installed after building the floor I went for the following solution:
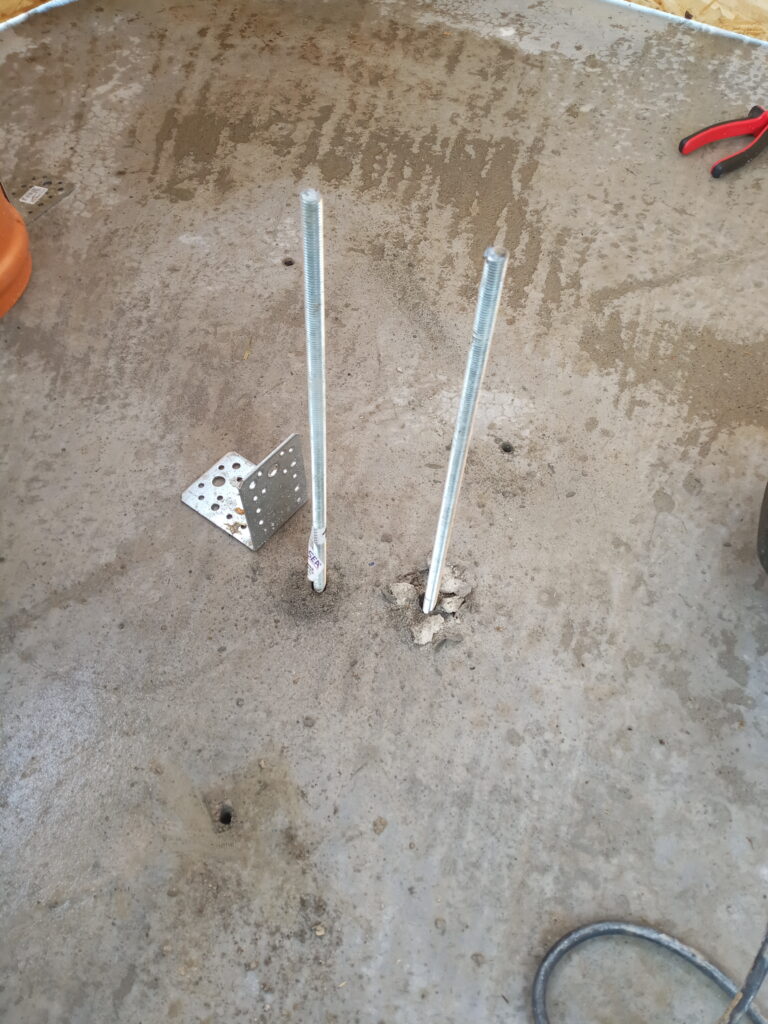
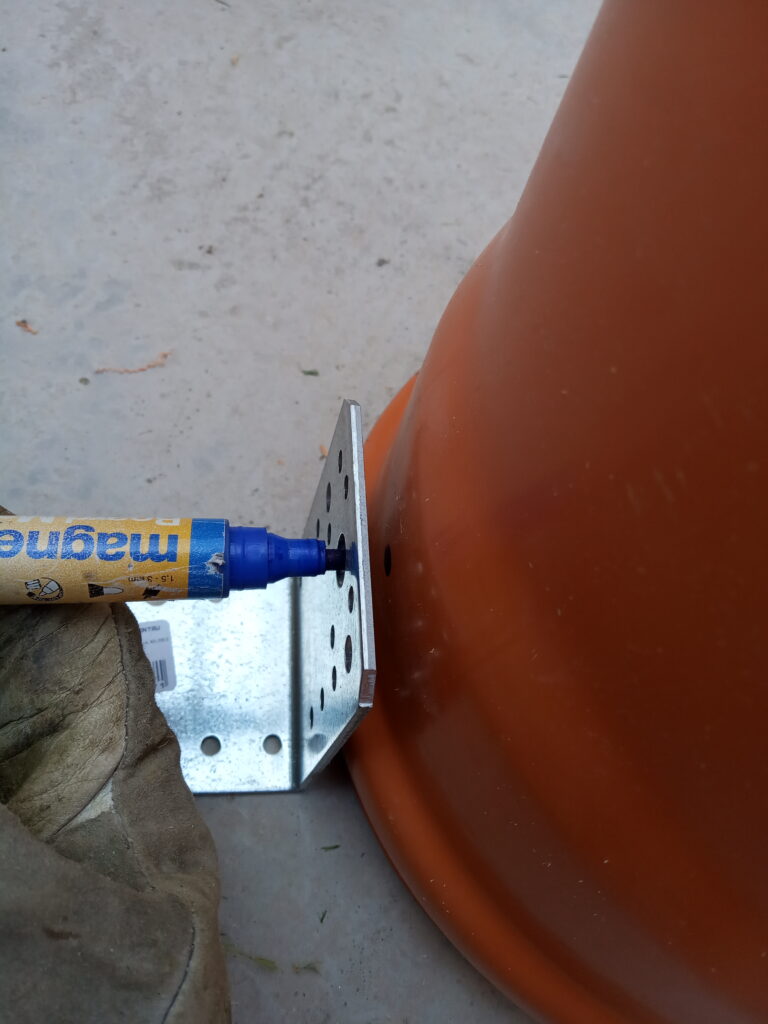
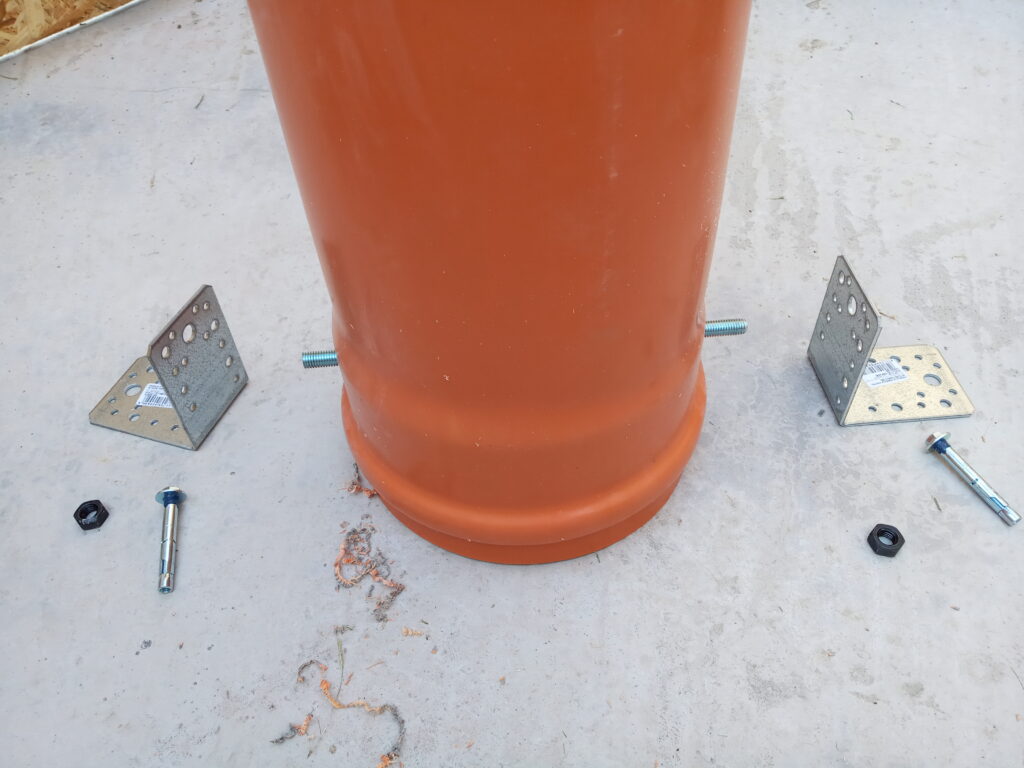
Two threaded bars were inserted 10cm deep in the cemented floor. They will be positioned inside the pipe and cemented, effectively obtaining reinforced concrete. Since the bars are also placed on the floor and a strong link between the poured concrete and the existing floor will be achieved the pier will be permanently and safely fixed to the ground. I drilled holes of the same diameter as the bars and used a hammer to insert them. In addition, I decided to use two angle brackets connected by a horizontal threaded bar fixed with nuts to ensure further stability. The brackets are further fixed to the floor using 2 heavy-duty dowels. This bar will also be cemented further ensuring stability.
From the 2 1m long sewage pipes, I cut one in half obtaining a 1.5m tall structure that will be fully cemented and contain the Lacerta adapter inserted at the top.
NOTE: I noticed in my case that the 1.5m pier is too tall as it requires me to elevate the roll-off roof by 20-30cm. Given the dimensions of my observatory and those of the EQ6 mount a shorter 1.2m pier suffices.
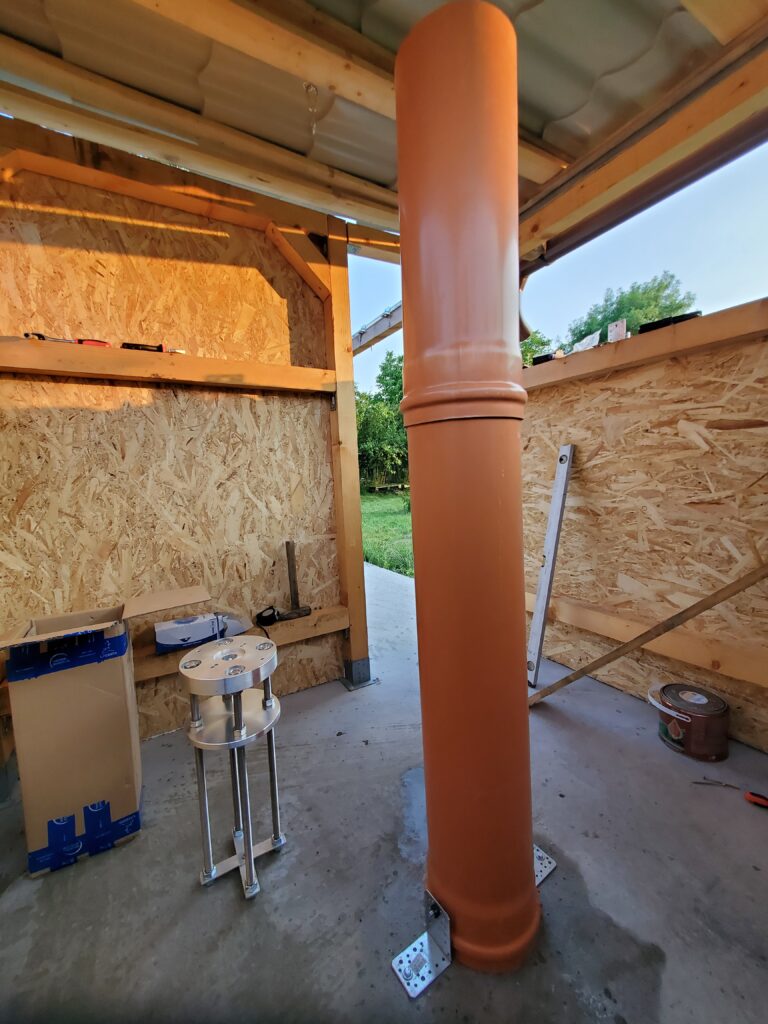
Pouring the concrete
I mixed the concrete using the classic 1 part cement 3 parts sand and gravel (gravel is essential as it ensures coherence. The mix was poured inside the pipes over 2 days to allow it to solidify a bit. On the first day, enough concrete was used to cover the threaded bars reaching a height of about 0.8m. The next day the remaining was filled. Some water will leak from where the pipes meet the floor but that is perfectly normal. As the surface is flat no cement should leak.
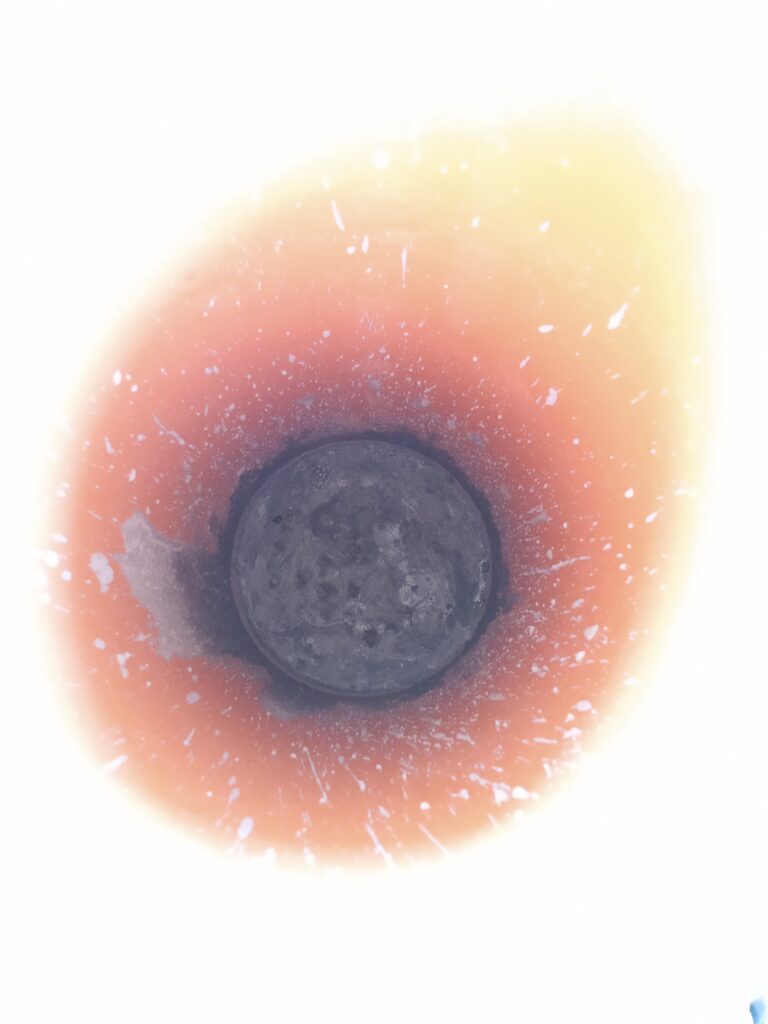
Once the pipes were filled up to about 1.3m in height the Lacerta adapter was inserted following their instructions (two-thirds in one-third out). The adapter was leveled using a spirit level by measuring its horizontality in two perpendicular directions. This can be later adjusted by turning the nuts underneath it.
The entire structure is solid enough the next day. For safety, it should be left untouched for at least 1 week to properly solidify. The plastic pipes will remain in place.

And here is a video I made outlying the entire process:
I am happy to provide consultancy services (for a fee) for people interested in building their own DIY observatory. I can advise on materials, and construction, and provide plans (my own or custom-made).
If you enjoyed this post consider following us on Facebook, Youtube, and Twitter or donating on Patreon. Also, stay tuned for public events Marc hosts regularly on Eventbrite.
