
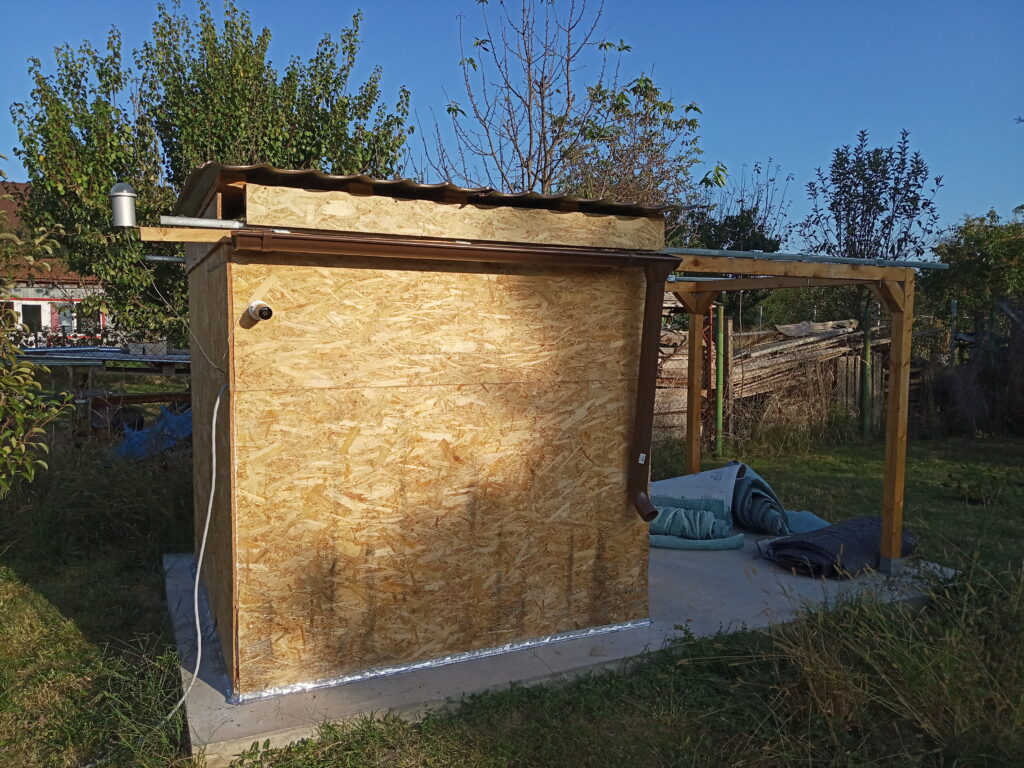
In previous posts, I constructed the wooden frame for my upcoming astronomical observatory set up the walls and roll-off roof, and prepared the pier for the telescope mount.
In this post, I am wrapping the construction by building the door, adding some rubber pads for the floor to protect the equipment in case it falls on the floor, adding a waterproof self-sealant tape to avoid water from infiltrating the building, and raising the roof a bit to solve an error in the design of the pier’s height.
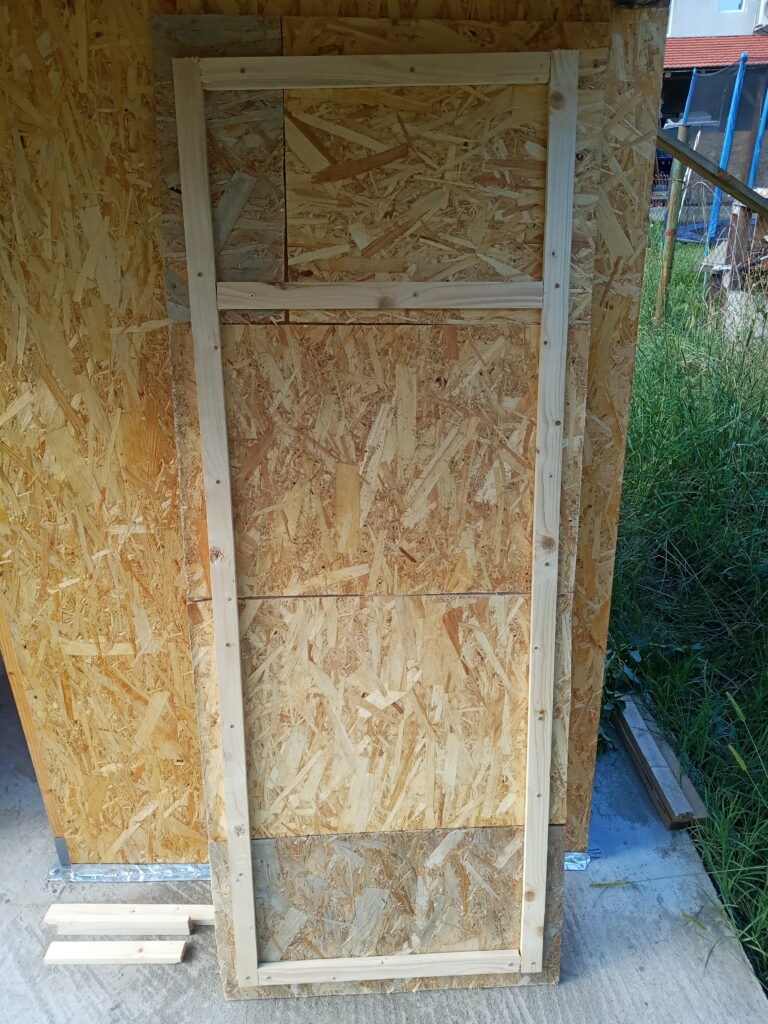
Adding the door
For the door, I used any remaining materials from the construction of the building itself but it can also be built from a single OSB board 125×250 cm by cutting it into two parts: one 8×179 cm to cover the wooden post on the left and another 70×179 cm for the actual door.
Additional materials:
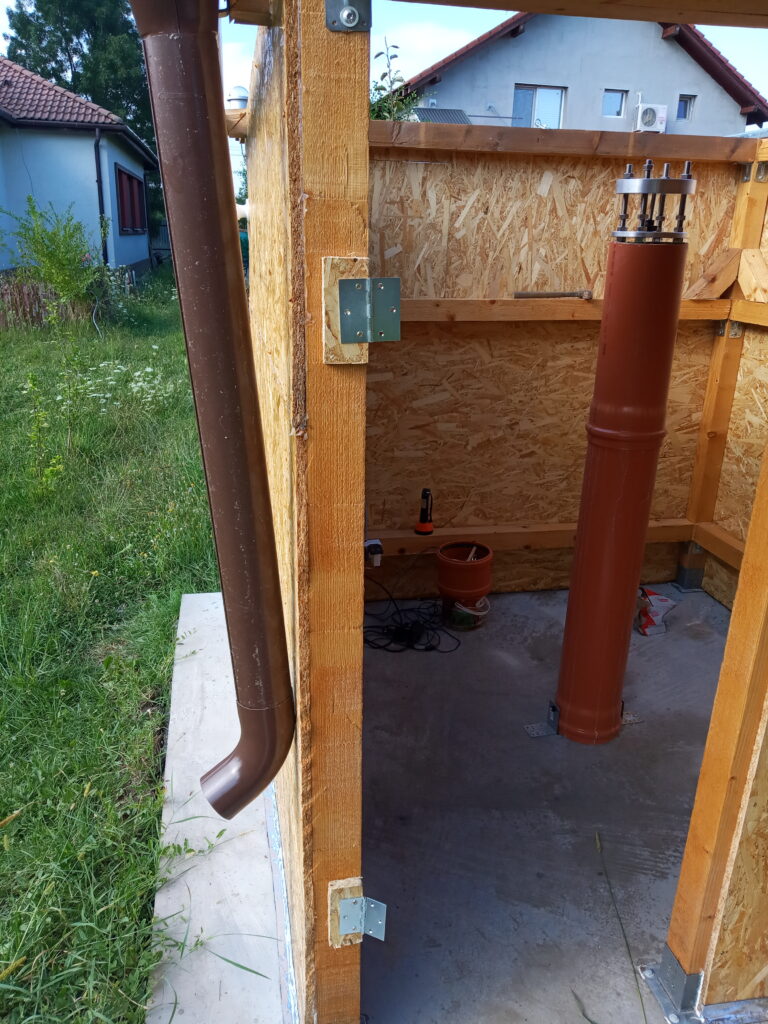
- 3x door hinges placed at equally spaced intervals to hold the door
- 1x sliding latch lock to secure the entrance
In my case, since I used the remaining OSB parts I constructed a wooden frame to hold them together from 3x 200 cm sawn timber 4cm wide and 1.5 cm thick.

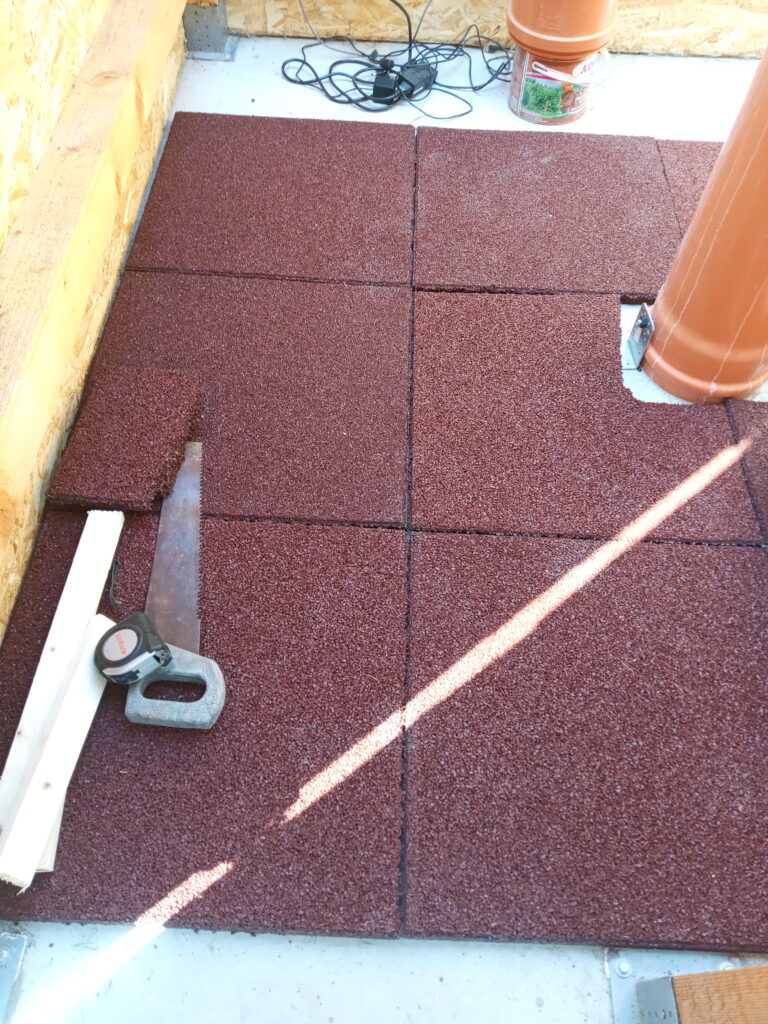
Adding the rubber pads
To avoid damaging the equipment and also to allow me to place it on the floor safely I decided to use 20x rubber pads 50x50cm in size and 2cm thick. I used a saw to cut them.
Self-sealing tape to waterproof the building
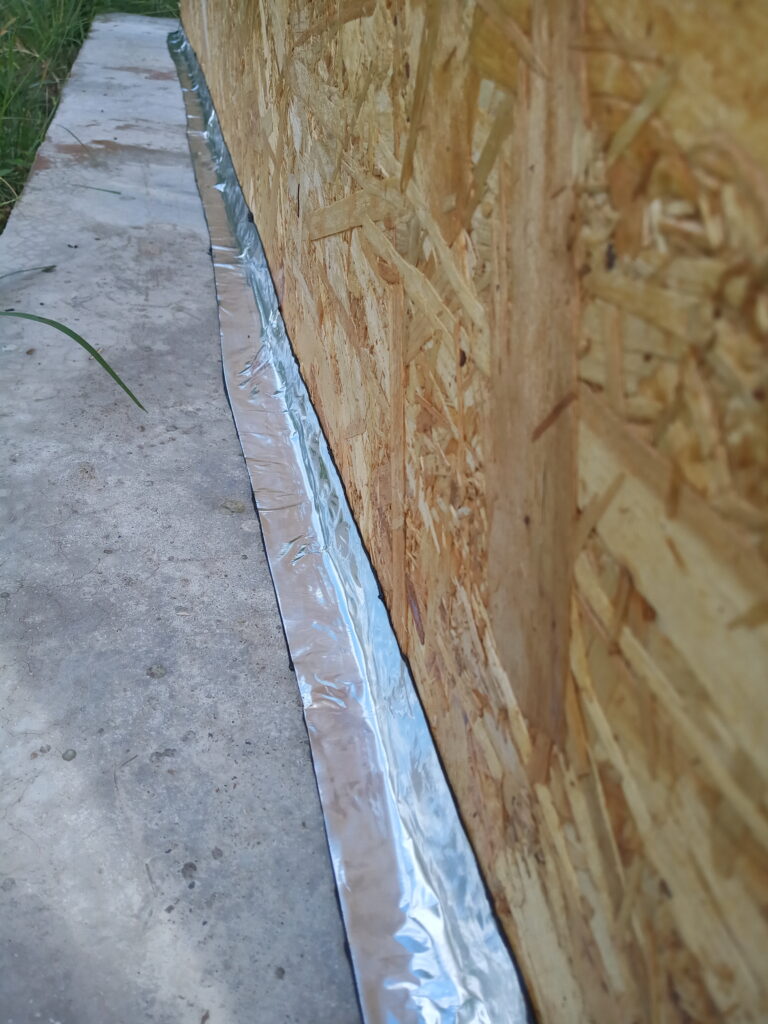
Despite the roof, I noticed that since the floor was flat water was infiltrating from under the walls despite using silicone to cover the space. To solve this issue I decided to add some waterproof sealant tape. Mine was 10m long leaving plenty of extra for future uses as the perimeter of the building is 8m. This provided a perfect solution as I did not notice any more water inside the building.
Raising the roof by a few centimeters
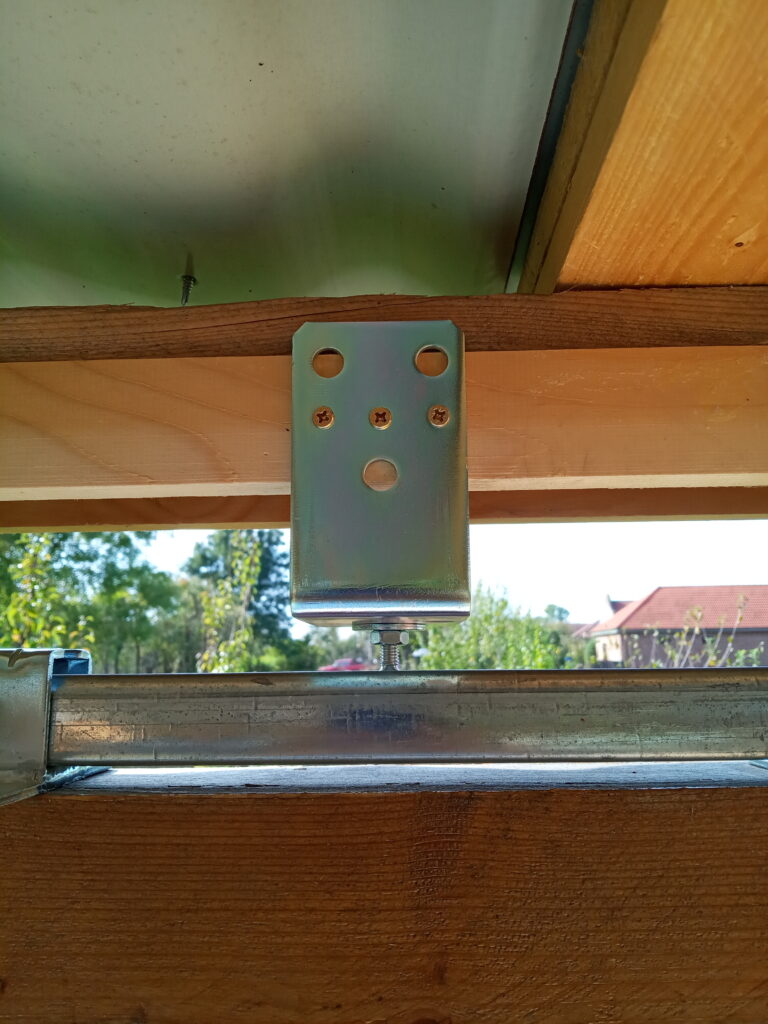
The previous steps should have sufficed but an error in the design of the height of the peer meant I had to raise the roof by about 13 cm to allow for my EQ6-R mount and the scope to safely park in a horizontal position without hitting the roof. For this, I used the following materials:
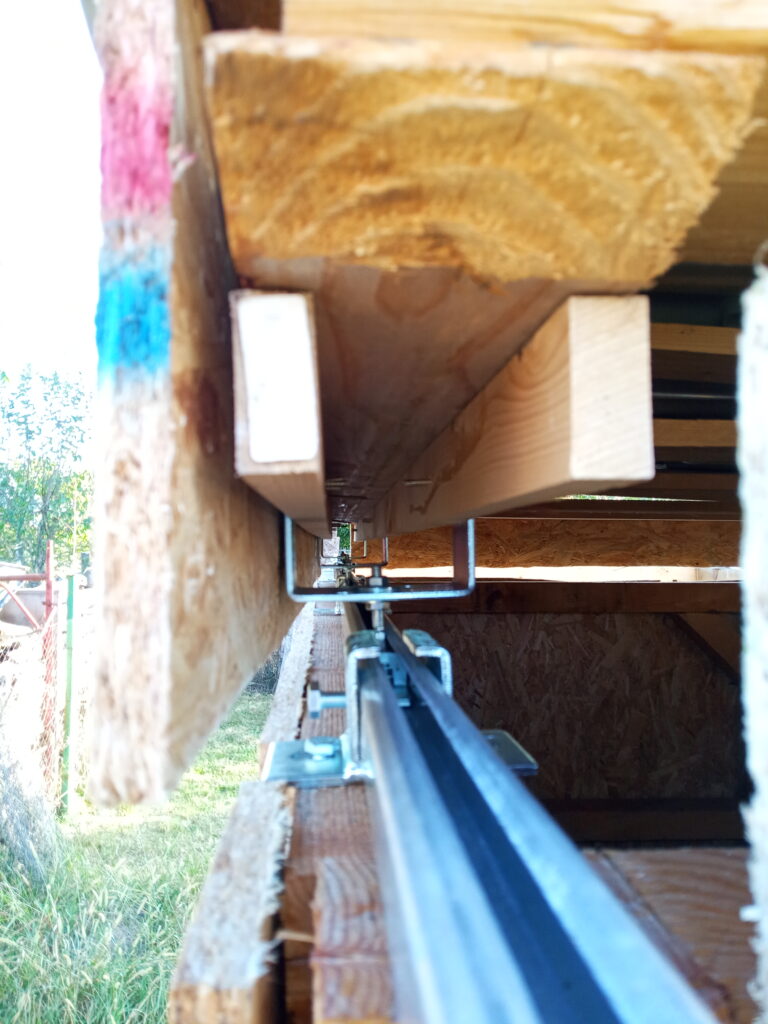
- 6x U-shaped post supports 10×10 cm (width x height)
- 12x nuts and 12x washers for M8 threads (to fit the existing gate wheels)
- 4x sawn timber 200 cm long and 2cm thick
- 2x OSB pieces 200 x 16 cm that will attach to the sides of the roof parallel to the direction of movement
- 1x OSB piece 200 x 30 cm that will attach to the wall corresponding the the close position of the roof
- 1x OSB piece 180 x 16 cm that will attach to the roof on the remaining side (the one that slides outward when sliding it open)
I cut all 4 OSB parts from a single 125 x 250 cm board.
The entire structure can be further raised by 1-2 cm if needed. It currently leaves about 1.5 cm of free space between the scope and the roof.
As a plus, the new design (wheels attached to the U-shaped supports allowed for a smoother (faster) sliding of the roof. This makes it better suited for automation and I have some ideas which I will post in the future.

You can watch a short video explaining the process of lifting the roof on my Youtube channel below: